
















1


옛날 옛적에
강화

[ Unique ]
카드 생성 시 축복 부여 (턴당 5회)
작성자: Adhanak2개월 전 수정됨


Haru Anchor spam deck, but with Owen(?) and Adel
Wow, what an insane deck! I definitely want to build it as i never used Owen before and i want to free up my Narja for other teams. Also your explanations are super well done, great job!
Thank you for the kind words!
Man, after those new S3 balance changes i want to build it even more as it doesn't rely on Persona cards or engravings...
To be fair, even with the nerfs I still plan on playing / building new S3 decks. The fact that they've become less powerful doesn't change the fun mechanics that I like to focus on 😊
If you do build this deck, feel free to tell me what you think of it and give any feedback you have on the suggestions in the guide!
Just finished building it (only missing 1-2 divines in Owen's deck) and it works great :) Got 1.230.000 points on Judas in FSO (on my first attempt, could have had better drawing luck) and also cleared the Tower with ease! Can't wait to recreate more of your decks!
Awesome!
Regarding the other guides I made, the Sereniel one is very standard and I can't really recommend the Tenebria one considering how annoying it is to farm (though it is very easy and fun to play).
As for the Rita and Nine decks, I have to find some time to properly fine-tune everything and test them in the tower, so take them with a grain of salt for now.
(I also want to make Fei and Heidemarie decks, but they're dependent on season 4 cards so we'll have to wait a bit)
Yeah i also think i'll wait a bit longer before building any new decks. I want to see what S4 has in store for us first. Maybe some characters i haven't used much yet finally get their time to shine!
대화에 참여하려면 로그인하세요.
As for most of the decks I try to craft, the main goal is to have a comfy and fun deck that can reliably execute its planned combo while having decent sustain. It is by no means optimized to deal the most damage / one shot bosses.
Most equipments and refinements are suggestions. Some explanations and alternatives can be found in the "Details" section of this guide.
Abc -> Combattant
Abc -> Card
Abc -> Mechanic
Abc / Abc / Abc -> Equipment
[Abc] -> Memory fragment set
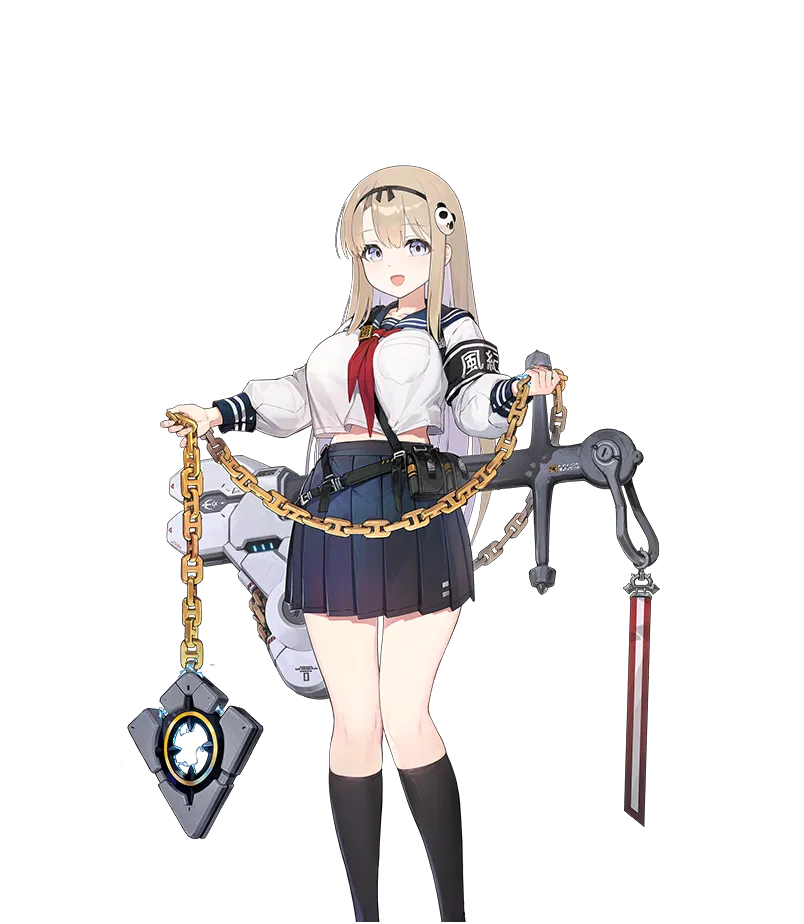
I recently saw this awesome deck by wolf0 with the brilliant idea of using Forbidden: Gesture of Freedom to permanently reduce Haru's Anchor Shot to 0-cost at the very start of battle.
This is also possible using Narja, but that version is less consistent as it requires you to reduce the cost of all 3 Anchor Shots every turn (it also opens up a Persona cycling tech, but I'm not a fan of that). Plus I want to use Narja in another team.
I wanted to try my own take on this deck, but without Hugo. For one, he's busy supporting Heidemarie, but I also feel like the Hunt stack management can get a bit complex (plus it needs 2 draw equipments which can make the deck harder to obtain). I tried to find a good replacement and, surprisingly, Owen fits! Which is also great because I couldn't find a team for him since the launch of the game.
The setup is pretty much identical to the original deck. Your starting hand will always consist of 3 Once Upon A Time and 2 Forbidden: Gesture of Freedom.
Play the first Once Upon A Time to target Haru's Anchor Shot, then play both Forbidden: Gesture of Freedoms to reduce its cost to 0 permanently (including the copies it will create).

Next, use a second Once Upon A Time to get Anchor Pointer (one with a divine draw) that you can then play.

In a perfect world, you would draw into Protect Us directly. If not, you'll have to 'waste' the last Once Upon A Time to get Protect Us manually (you can also try your luck on another draw card like Charge Energy or Wind Charge if you don't mind restarting the fight multiple times until you hit the right card). Play Protect Us to immediately draw a card and get some extra draw on the next two Blessing cards you play.

Now we start copying the Anchors. Play the first Anchor Shot which will come back to hand (with Retrieve) and draw a card (with Blessing).
The rest will depend on the cards you draw and mostly follows the normal turn guide: play Owen and Adelheid's cards as soon as you get them, play the Anchor Shots if they have Retrieve or Anchor Pointer if they don't.
Start by using any of Owen or Adelheid's draw cards as well as Charge Energy to get all the pieces you need (prioritizing Adlelheid's Protect Us to get additional draw from Blessing cards). You can also play one Anchor Pointer with a draw divine epiphany for extra draw.


Once all Wind Charges have been played, you can use Break Armor to apply Vulnerable. This will 'waste' a double hit, but having Vulnerable for all your Anchors is more valuable.

Next is the core of the combo, with the objective of playing Anchor Shot 15 times. To achieve this, there are only three simple steps to follow:
하루Swamp of Judgement or Burning Life are the prefered Chaos to farm Haru's equipment.
Weapon
There is no required weapon for this build to work.
Criticism of Discord (Senectus drop) is usually the bis but considering there are other great unique equipments in other slots (Mask of Flames, Verdant Shackles), you can use the easier to find Dagger That Tricked the Shadow or even simply RFS-17 (since all Anchors will be 0-cost).
Armor
There is no required armor for this build to work.
Fairy King's Crown is the simplest option for some extra Critical Chance. Mask of Flames is also perfect as it synergizes with the Vulnerable divine epiphany on the Anchor.
Accessory
There is no required accessory for this build to work.
If you are lucky enough to find it in the Arena, Rage Potion is a decent option (though it will only boost 1 out of 5 Anchors). If you don't have another unique equipment, Verdant Shackles is also fantastic.
Refinements
This version of Anchor Shot is needed to enable the "15 per turn" strategy. The Vulnerable divine epiphany is also highly recommended as it enables some equipments and refinements in addition to boosting the damage.
Similarly, this version of Anchor Pointer is the only one that will apply to all Anchor Shots in the deck. You can try other types of draw divine epiphanies if needed (e.g: "Draw a card of this unit") but the generic one is the easiest to use.
This version of Charge Energy is used for its inherent draw, but if you can consistently get all the cards you need, you can consider using the "+20% Critical Chance" version. On the contrary, if draw is an issue you can try the upgrade version to reduce the amount of cards.
 아스테리아
아스테리아Even with the cost reduction on the Anchors, Asteria can still work as she targets cards with a "base" cost of 2 or higher. As Haru's signature partner, she is the best for personal damage.
 스칼렛
스칼렛Scarlet can be a good alternative if you have her, as you will often be spamming Haru's cards one after the other.
 릴리안
릴리안Lillian is the best F2P option although her passive isn't that incredible (+80% Damage Amount at max copies). Her not being available in the shop also makes it harder to obtain her.
오웬Owen does not need specific equipment. He is just here for support and it makes him happy. Just make sure you run the Forbidden Catalyst modifier.
Weapon
There is no required weapon for this build to work.
Tentacles of a Ruined Age (Senectus drop) is the best weapon for supports. If you don't luck into it, you can go with Crimson Sword to open specific effects via Agony or a simple Flashbang.
Armor
There is no required armor for this build to work.
Because Adelheid's shield cap from Blessing scales with max HP, Regenerative Ribcage is the best you can get for utility. Contaminated Helmet is also good if you are running City of Mist but only appears in a specific encounter.
Accessory
There is no required accessory for this build to work.
Any supportive accessory will do. Source of the Forbidden is a good option to try and get some extra Vulnerable stacks while Sphere of Randomness or Dice of Derangement can increase the max HP even further (with the sphere you'll have to adapt your setup turn depending on the extra draw).
This is basically a 50% final damage boost on Haru's Anchors, as you will go from a single hit at 100% to two hits at 75%. It also serves as additional sustain thanks to Wind Riding.
Since we can't delete all of Owen's cards, we're keeping this one as it is a 0-cost. The Vulnerable divine epiphany makes it much easier to manage stacks, but if you have trouble with draw, you can go for "Draw 1 card of this unit" instead.

This card being an upgrade means it only has to be played once. The extra shield can also be helpful if Adelheid's wasn't enough. If you somehow manage to get a deck without this card (by exiting the Chaos early), you should absolutely do so.
This is one of the key pieces for the combo to work as it will permanently discount a card.
 유리
유리Since Owen is not expected to do any damage here, the best option is to give him a partner that can provide some extra draw to get you out of an occasional bricked hand. Yuri fits perfectly and everyone should have at least 10 copies of her, locked and ready to use.
아델하이트Since Adelheid is mostly here for support (obviously, who would send her to the frontlines??), we can focus on giving her purely supportive gear. Laboratory 0 is recommended, but any Chaos with the Forbidden Catalyst can work.
Weapon
There is no required weapon for this build to work.
Tentacles of a Ruined Age (Senectus drop) is the best weapon to support the team damage. If you don't manage to get it, give Adelheid whatever she asks for. She deserves it.
Armor
There is no required armor for this build to work.
Regenerative Ribcage is the best armor you can get in order to increase Adelheid's shield cap. Contaminated Helmet also works well if you are running City of Mist and happen to find it.
Accessory
There is no required accessory for this build to work.
Source of the Forbidden can bring some utility when enemies try ti chip at your massive shield. Administrator ID Badge can also help in the event the enemy somehow breaks your shield.
The second key piece of our combo which guarantees the starting hand, allows us to pick any card we want and gives it Blessing. You should have enough Faint Memory to add an AP divine epiphany on one of these cards to make the setup turn easier.
This is the main draw engine for the deck. Since all Anchors (and most other cards) will have the Blessing tag, this card alone pretty much guarantees 3 draw when played.

Garden of Secrets brings extra sustain and being an upgarde card it won't impact your draw after being played. If you really want to maximize damage, you can opt for Truth Behind A Story instead (though it will make it harder to manage draw and Vulnerable stacks). You could also keep both if you want.
The forbidden cards are split on two combattants to have more leeway on their respective save data and also to avoid having to use a core to duplicate the card (there is one single encounter in Laboratory 0 that can also do this, but it's too RNG for my taste).
 클라라
클라라Clara is Adelheid's signature partner, and more importantly her friend. She brings a bit of healing (in case the shield isn't enough), some team-wide buffs and some extra draw with her EGO skill.
 레이첼
레이첼As the F2P option, Rachel still brings some draw with her EGO skill and can allow Adelheid to gain some stacks of Counterattack (though RNG) for extra damage.
Full Scale Offensive: Coming soon?
Spiral Tower of Screams: Watch on Google Drive
A few mistakes in the run (I am not redoing 45 floors to record another video) and the epiphanies still need a bit of fine-tuning, but I am still very satisfied with the damage output of the deck. The guide has been updated to include everything I learned while playing this, especially regarding Vulnerable stack management.
Personal deck score (1=bad, 5=good)
Deck obtention: 2 -> With two combattants needing a specific Forbidden card, the deck building process can be a bit annoying if you aren't lucky. Getting good arena reinforcements for Haru's equipments is also very RNG.
Ease of use: 4 -> The deck itself is extremely easy to use and can mostly be played with your brain turned off after the setup is done. There is however a big gap in damage between playing whatever comes into hand and properly managing Vulnerability and Wind Charge stacks, hence the lower score.
Power: 5 -> I am honestly surprised at how much damage this deck can dish out. Reaching 200k each turn mostly depends on critical hits and Vulnerability management, but even with a few optimizations missing I still managed to reach the big number a few times. Seing an Anchor deal 10k damage twice is honestly very funny.
Sustain: 4 -> This deck (especially if you keep Adelheid's shield retain card) can survive quite easily, with Owen helping a bit. This is something that I felt was a bit lacking in the Narja version, which is why this one feels more comfortable to me. The shield cap from Blessing can however be an issue when enemies hit harder than the cap (which happens in Tower of Screams).
Total: 15/20








Banging deck my man and just as i thought owen is not actually half bad dps owen is sure mid but i think everyone is sleeping on suport owen
Thank you!
Owen feels a bit clunky as a support (his Ego Manifestation effects work against him in some scenarios, similar to Kayron), but he has some pretty unique damage boost (extra hit, fortitude decrease) which make him quite interesting when he fits in a team (more so after the Morale cap is introduced).